Hi there, friends!
I'm working to catch up with posting the pages from my mini art journal for the Art Marks Challenge from
Rae Missigman and Sandi Keene.
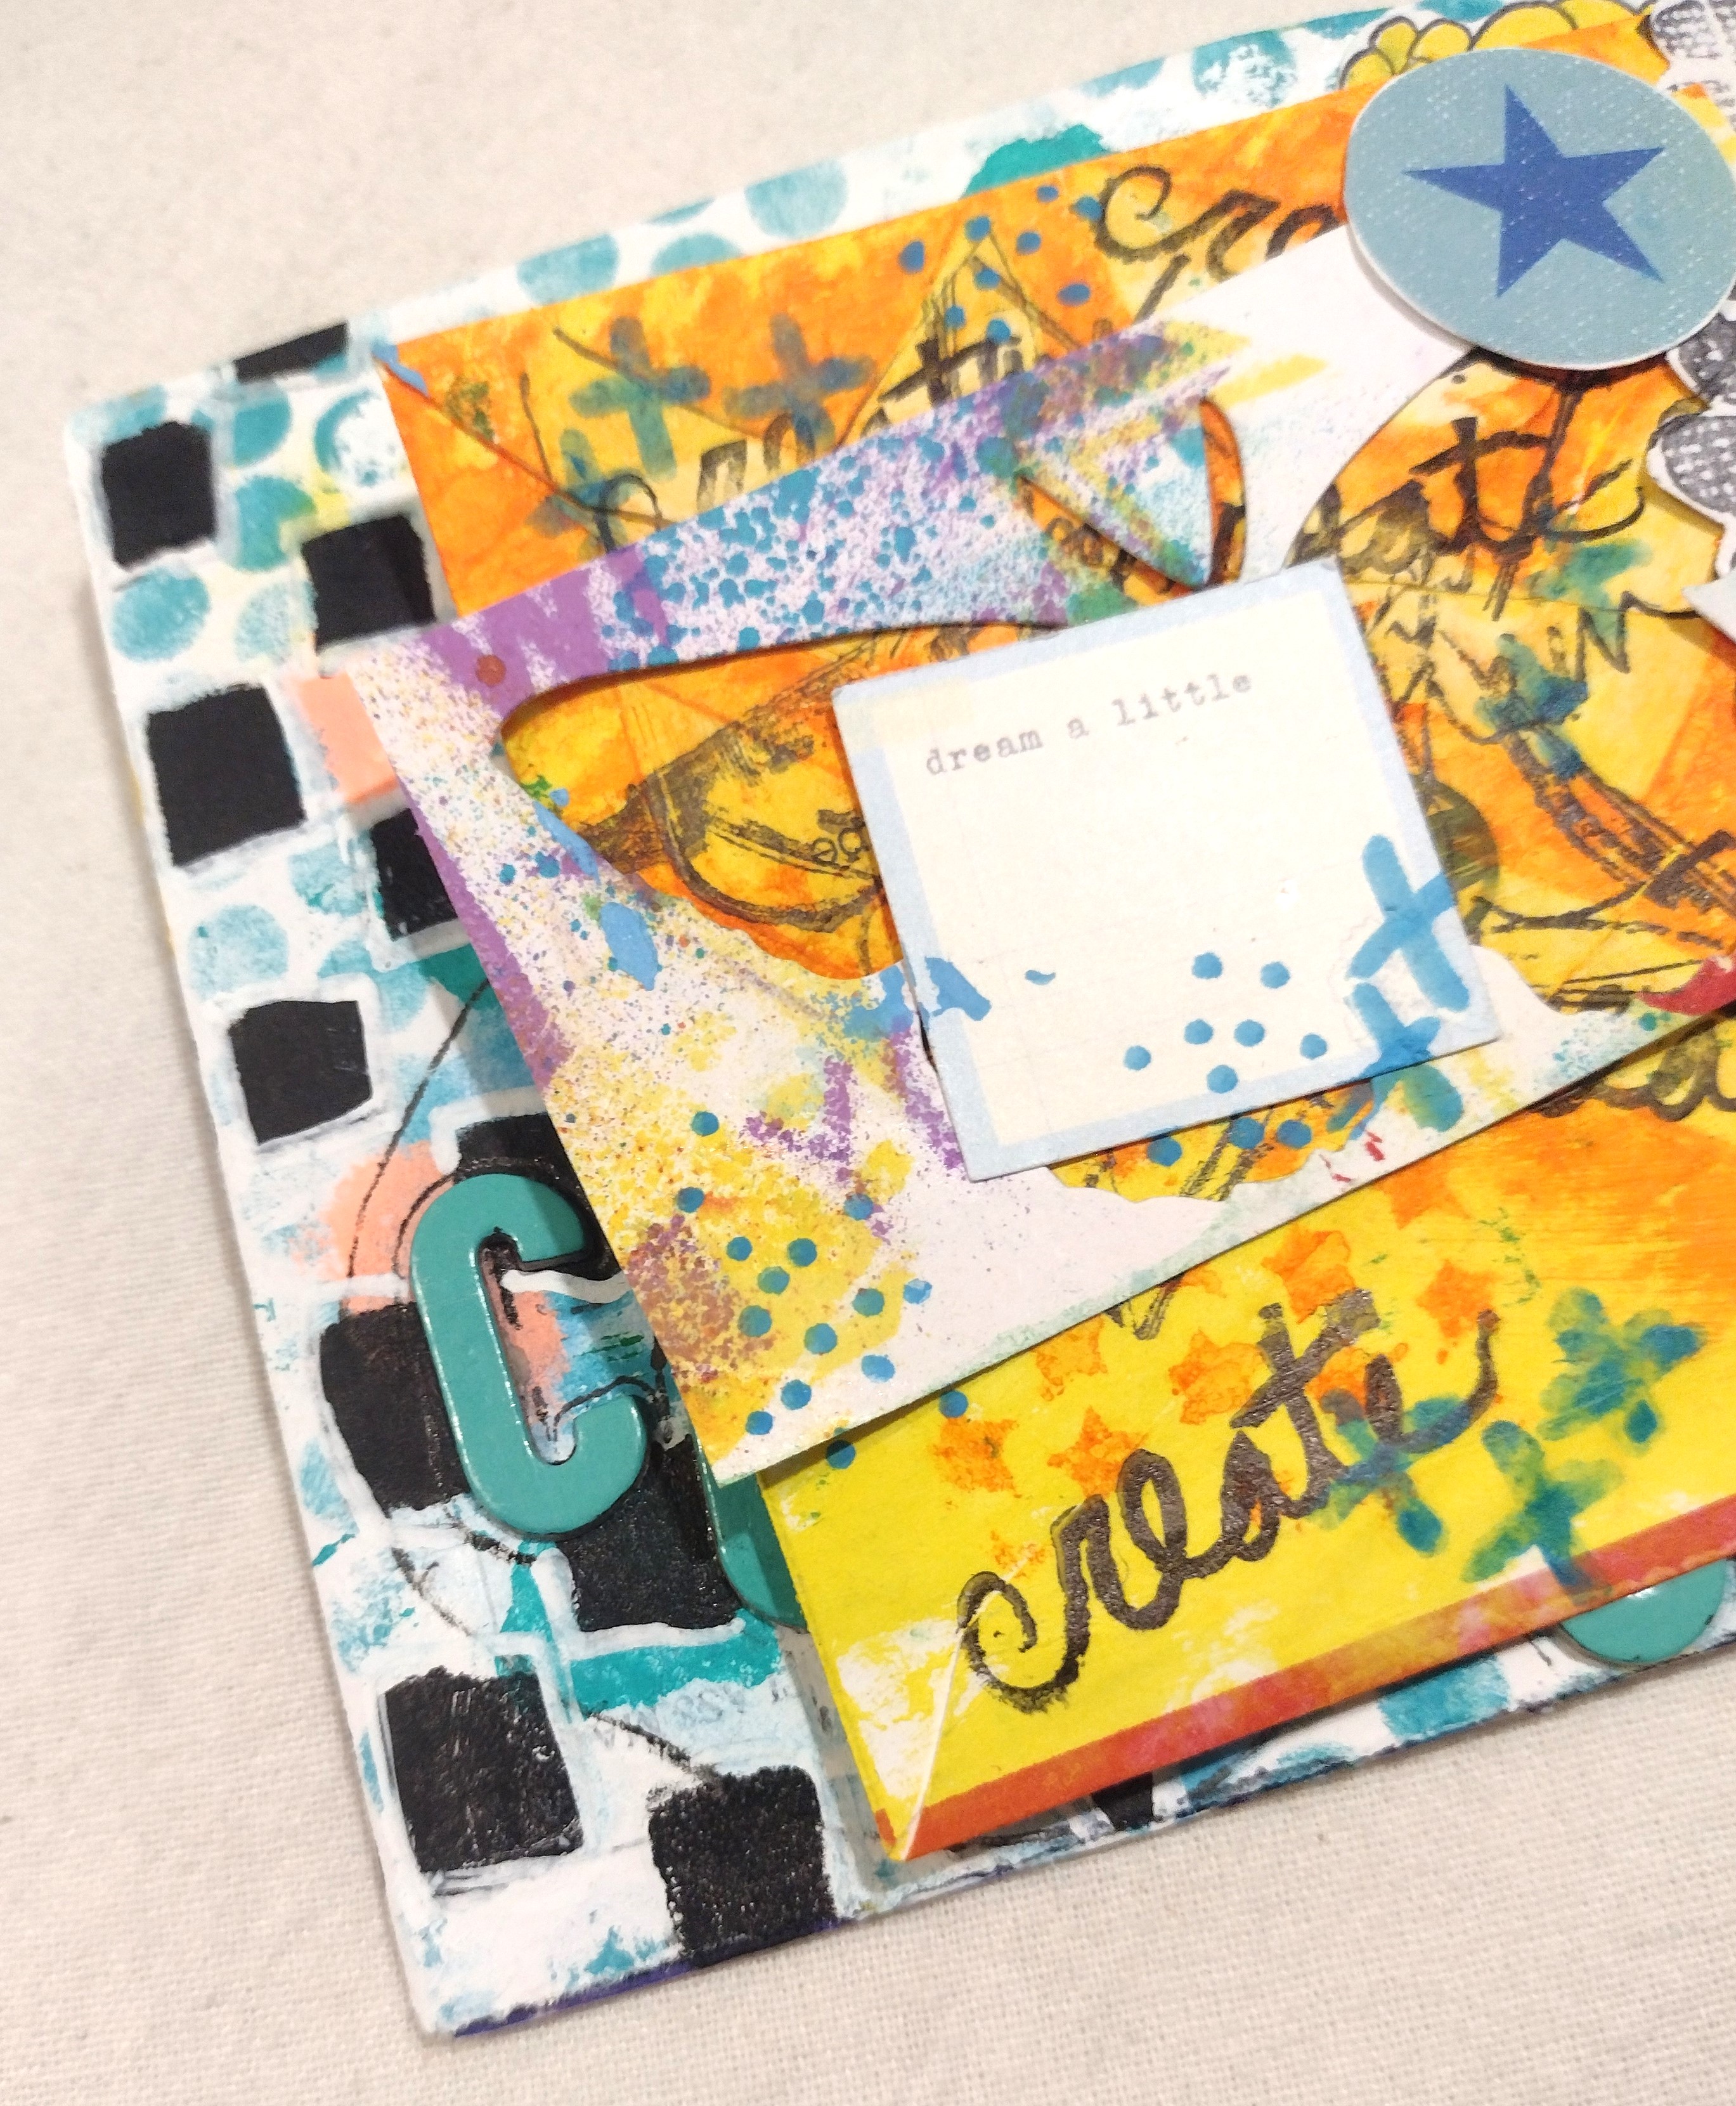
Day 7 - Create
For some Art Marks Challenge history, you can click here. And Rae's Instagram account here
shows Rae's interpretation of the prompts.
For those joining us, I'm working in a mini art journal I made out
of envelopes, a hole punch, and some baker's twine.
I'm going to be posting all my pages. Some may be in groups, or individual pages, but I will post tham all. I also took apart my journal to make it easier to photograph, so you may see peeks from other pages.
On to Day 7's prompt, create. What do you create? When do you create? Do you make time to create or do you get involved in all the other day to day things that you let creative time fall by the wayside? Also, what do you want o create? As I mentioned in a previous post, that's why I like working small at times. It's easier to carve out 10-15 minutes of creative time when life gets busy. And I'm sure we can all relate to that.
Carving out that little bit of time is also important for other things. To help me continue my crafting, I have side hustles going. One is a very simple, no tech skills required, and takes about 10 minutes a day. It's an e-mail marketing system called Cliqly. It really is simple, I can do it when I've got the time, and it's got click and referral commissions, so the potential is there to grow. I wouldn't
waste another second if you're interested. I've also included affiliate links for the products I've used. I earn a commission for any purchases you make, with no price increase for you. I truly appreciate the support!
For this page, I made the background with both yellow and orange paint through some stencils. First I painted it yellow, then used a baby wipe through a Dylusions star stencil to remove the paint in the openings.
Also, in my adventures in arting years ago, I found this large 12x12 stencil that had several designs on it. Somewhat related, but I really wanted to use the different designs separately. I had read about cutting up you stencils, but couldn't entirely bring myself to do it. Then one day I did it, to this one stencil. And I'm so glad I did! It actually helps me use the stencil more because I can choose which part I want to use without having to work with a large stencil and parts of the design I may not want on that particular project. This part is a line of chevrons, and I did the same thing as before but with orange paint.
I also used my Sharpie pen to outline some of the chevrons, but I did learn you still have to wait for the paint to dry. The rest of the layers are a bunch of things. I stamped the word "create" with my black Archival ink.
I used a
blue Molotow paint marker for some doodles, added some die-cuts from my stash, and used an older stamp called Boy Star from Dina Wakley with the same black ink as "create." I adhered the negative of a die-cut butterfly with the other die-cuts, as well as part of a border stamp from Dylusions
Bordering on the Edge stamp set.
I'm also entering the Simon Says Stamp Wednesday Challenge.
Thank you so much for stopping by and checking out my art journal page. Bye for now!
 .
.